Transit failures happen. In fact, one in three transit or distribution studies that come through our lab fail. Sometimes intentionally to test the limits of a package, other times it can be unexpected and bring a project to a halt. When we know what caused the failure, we can make the correct recommendation for the packaging so the client can continue launching their device to market.
In this blog, we, Packaging Compliance Lab (PCL), will discuss the most common types of failures we observe post-transit with a pouch configuration. Then we’ll discuss ways to make sure packaging isn’t the problem!
Performing a Root Cause Analysis
PCL takes a systematic approach to determine what caused the failure. To do this, we essentially re-do transit testing by performing a test, then observing the packaging directly after. If we do not observe failures after a test, we push forward to the next test in the sequence. If we do observe failures, we cross analyze the new packaging failures against the initial packaging failures to make sure they are the same. This process helps us determine exactly which test is causing the failure.
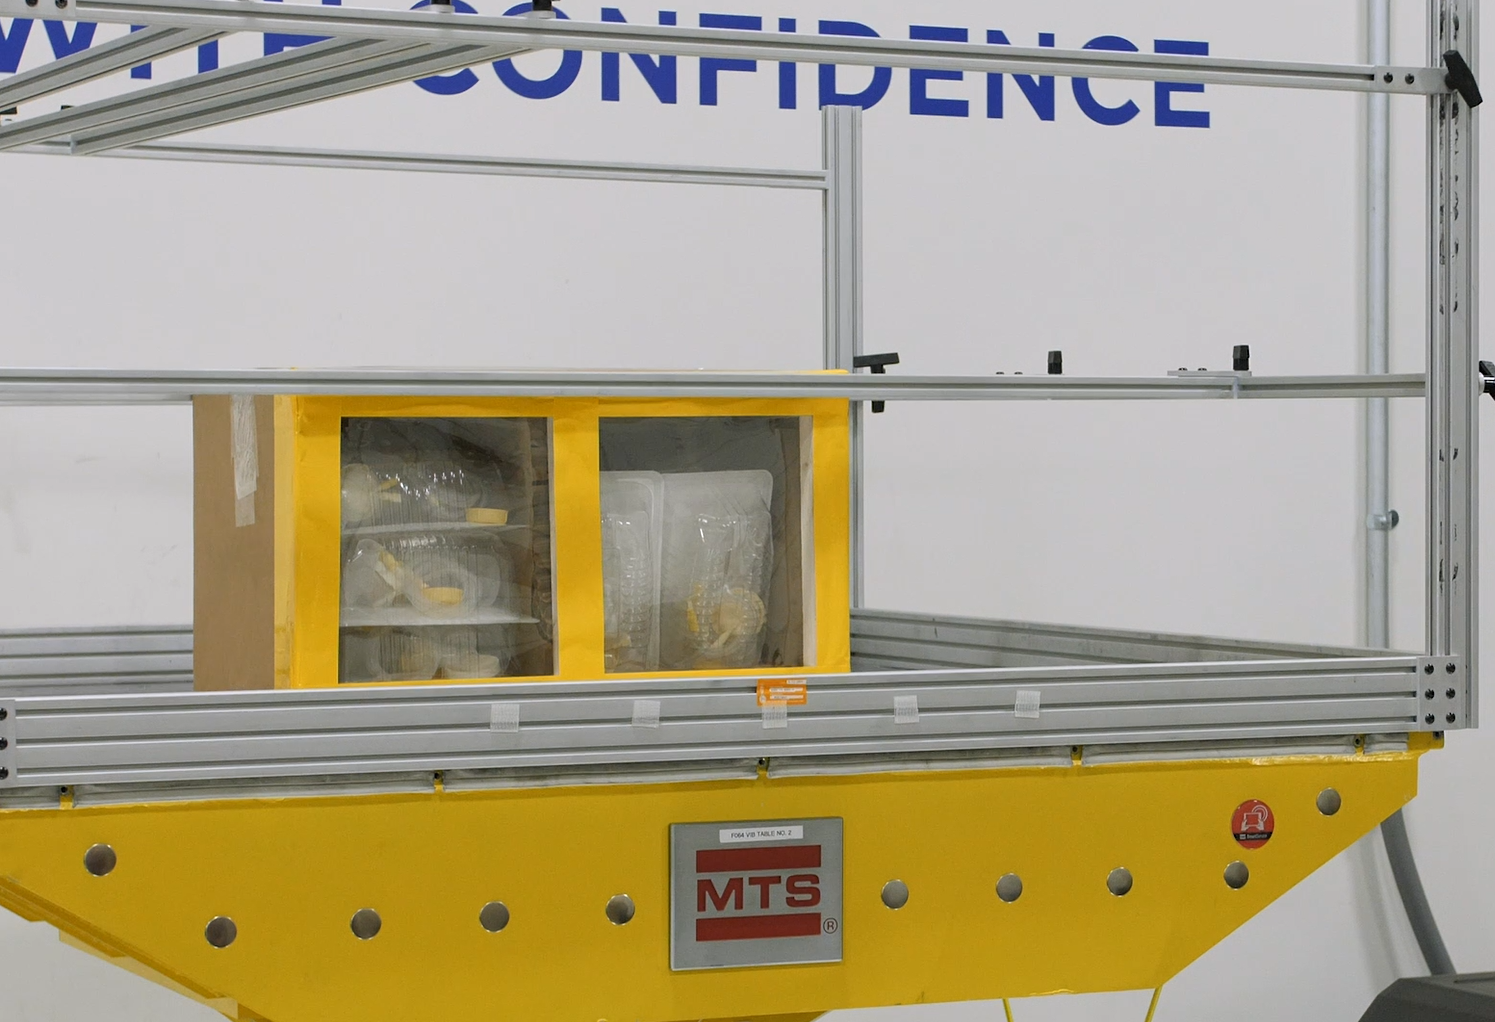
The tests commonly performed during transportation testing are:
-
Drop Testing (multiple combinations of faces, corners, and edges)
-
Compression Testing
-
Vibration Testing (repetitive shock and various vehicle simulations)
-
Low-Pressure Simulation
-
Concentrated Impacts
Two Common Failures Experienced During Post Transit
External Abrasions
How They Are Formed:
There are a handful of ways that external abrasions can develop in pouch packaging:
-
Package Incorrectly Sized
If the pouch is too big, the extra packaging material can inflate and crease to create points which then rub on other pouches or on the shipper box. Points on the package can also form from “tenting” when a package is incorrectly sized.
-
Folds in the Packaging
Folds in your packaging can also create points. If you have points on your packaging that is caused from a compound fold, it can rub and abrade, which can result in a failure.
-
Packaging Material
External abrasions can also occur from two packages rubbing against each other while packaged inside the shipper box. Mitigating this could be as easy as editing your pack out instructions to make sure the opposing materials are not touching when they are in the shipper.
Internal Abrasions & Punctures
How They Are Formed:
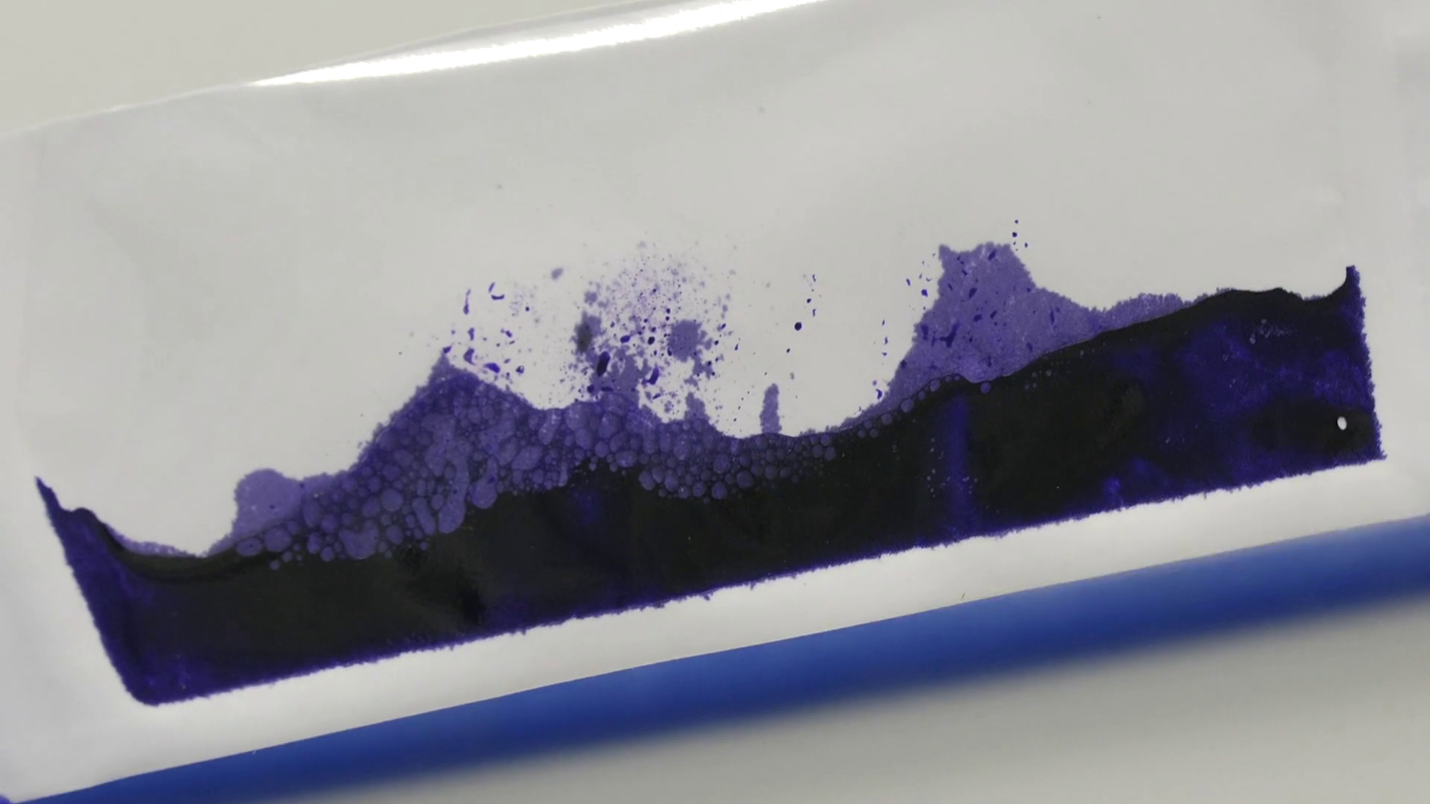
If we see a hole that appears to have rubbed through a pouch, we must decide if that abrasion came from the inside or outside of the pouch. When observed under a microscope, an abrasion looks like something rubbed through the packaging. It might not be a clear opening and will typically look rough around the edges. Internal abrasions can be caused by:
-
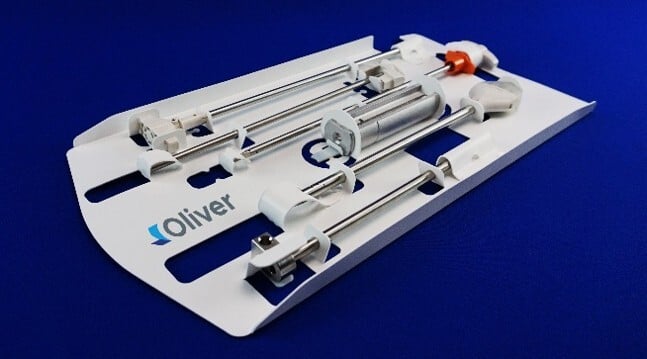
Another internal feature of the package (i.e., a thermoformed tray or the inner pouch of a double sterile barrier system) rubbing against the pouch
-
A geometric feature of the device (size, sharp edges, etc.) rubbing directly against the pouch
Device Punctures
When a device puncture is observed under a microscope, it will appear to have ‘stabbed’ through and will have cleaner edges than an abrasion.
Often if there is a puncture, it is likely that there is a sharp feature of the device that is not being protected. Even if the device is locked in place with a tray or mounting card, if it is within a pouch, there is still a chance that the flexible pouch will get in the way of the sharp feature. Therefore, the design of your tray or mounting card is crucial. Device punctures can also occur if there is not a good understanding of the geometry of your device. There might be edges that need extra protection as well.
Abrasion typically occurs during the vibration cycle, and puncture defects typically develop during drop testing.
For other resources on how to avoid post-transit failures, check out Oliver’s Resources & Downloads and advice on Common Packaging Challenges: